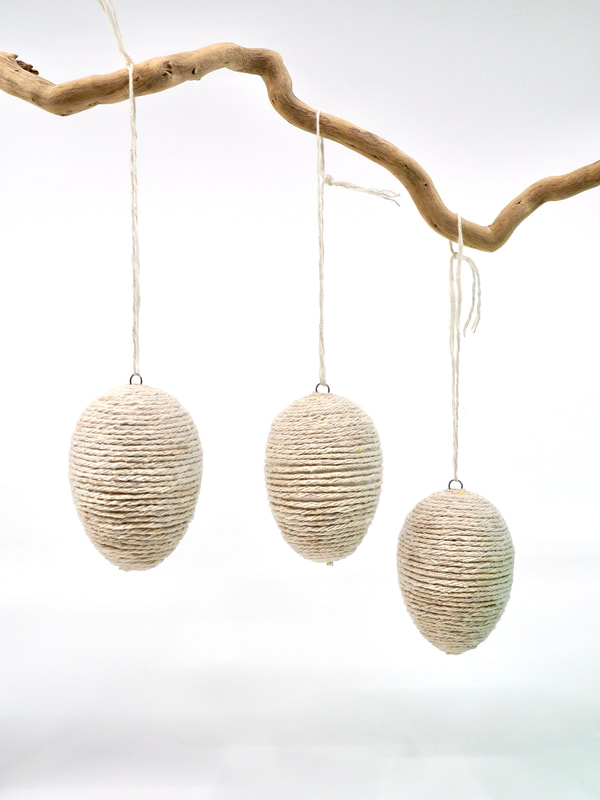
Decorative String EGgs
Please consider supporting me :)

Easy and simple but effective.
Create these striking egg decorations using only a plastic egg, string and glue.
Create these striking egg decorations using only a plastic egg, string and glue.
|
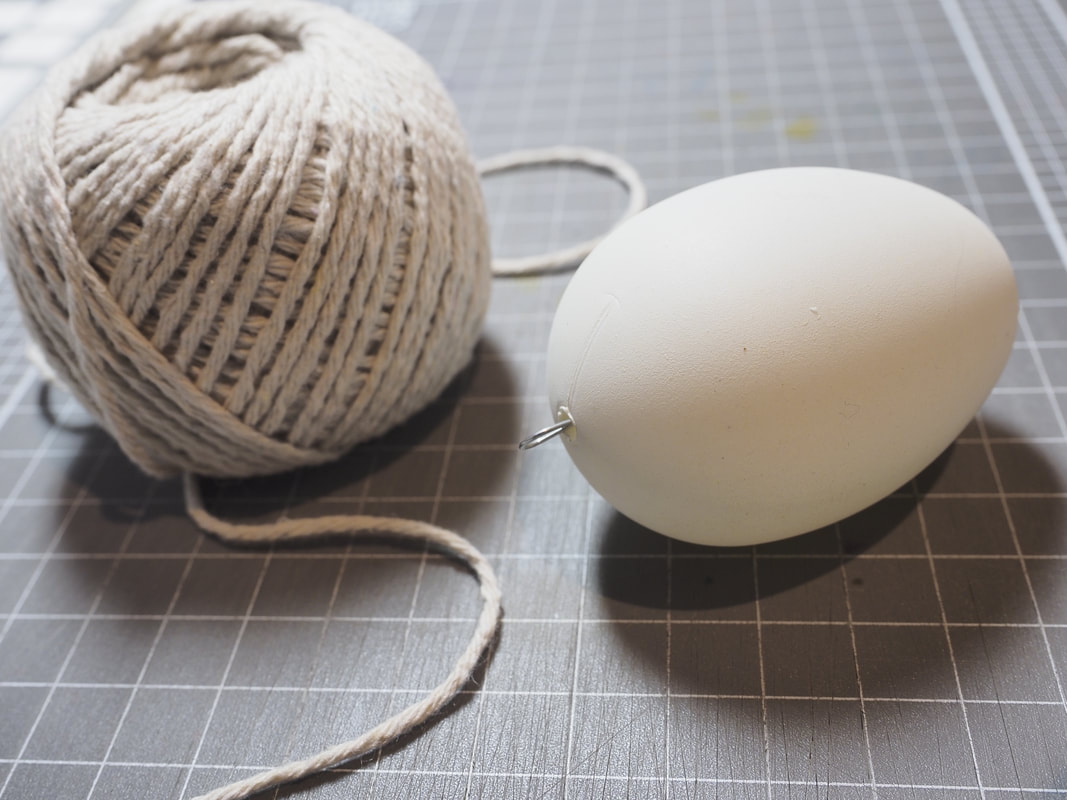
Materials Required
|
|
Instructions
|
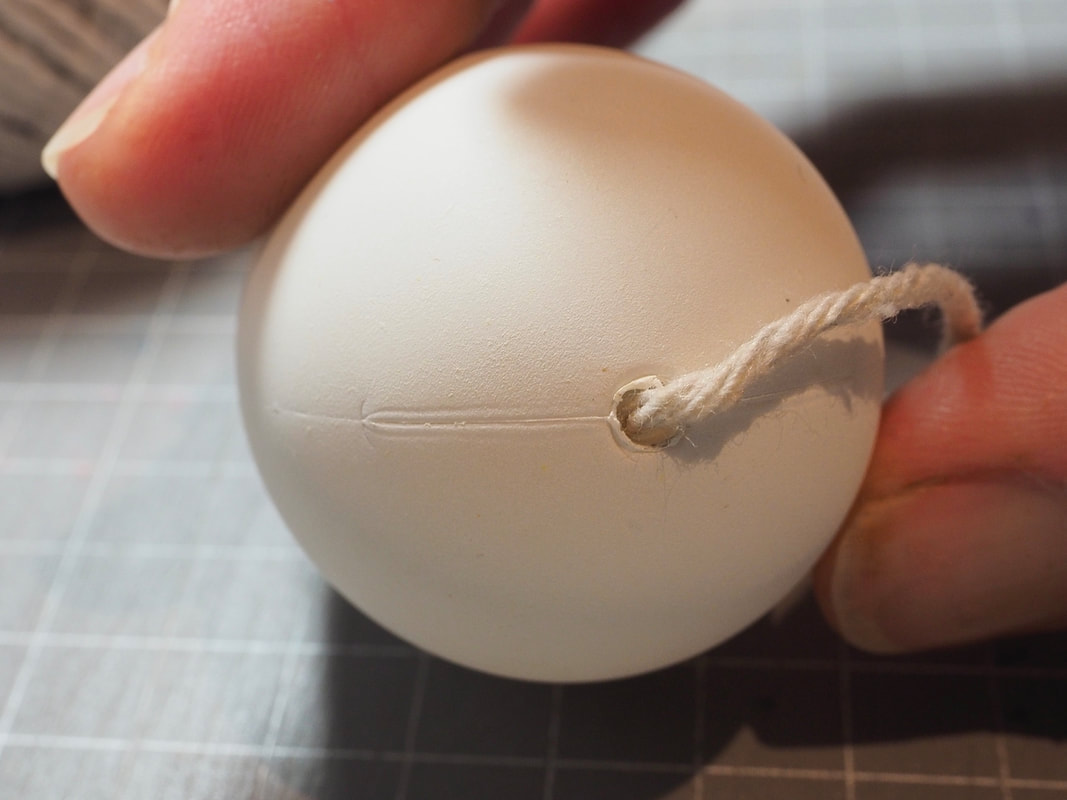
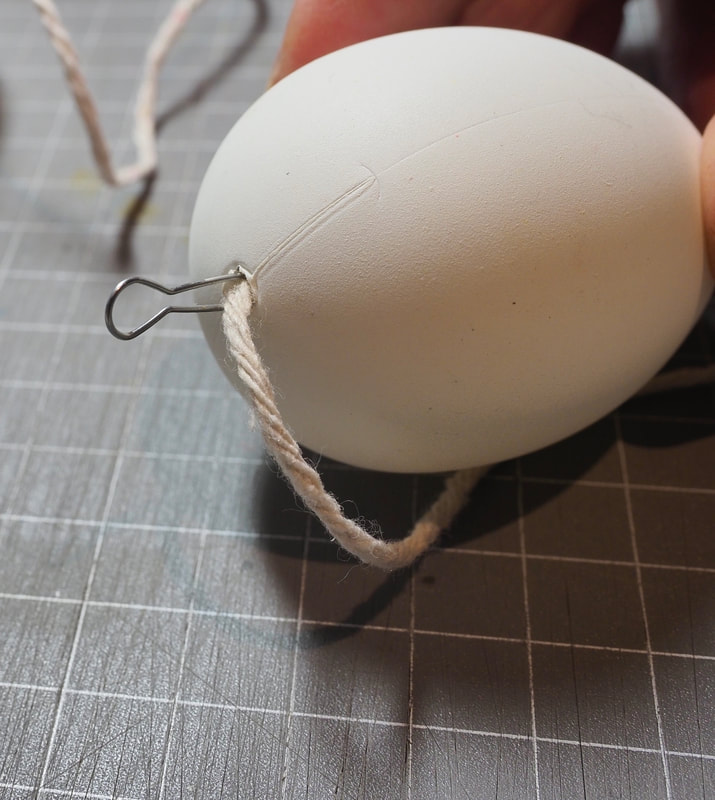
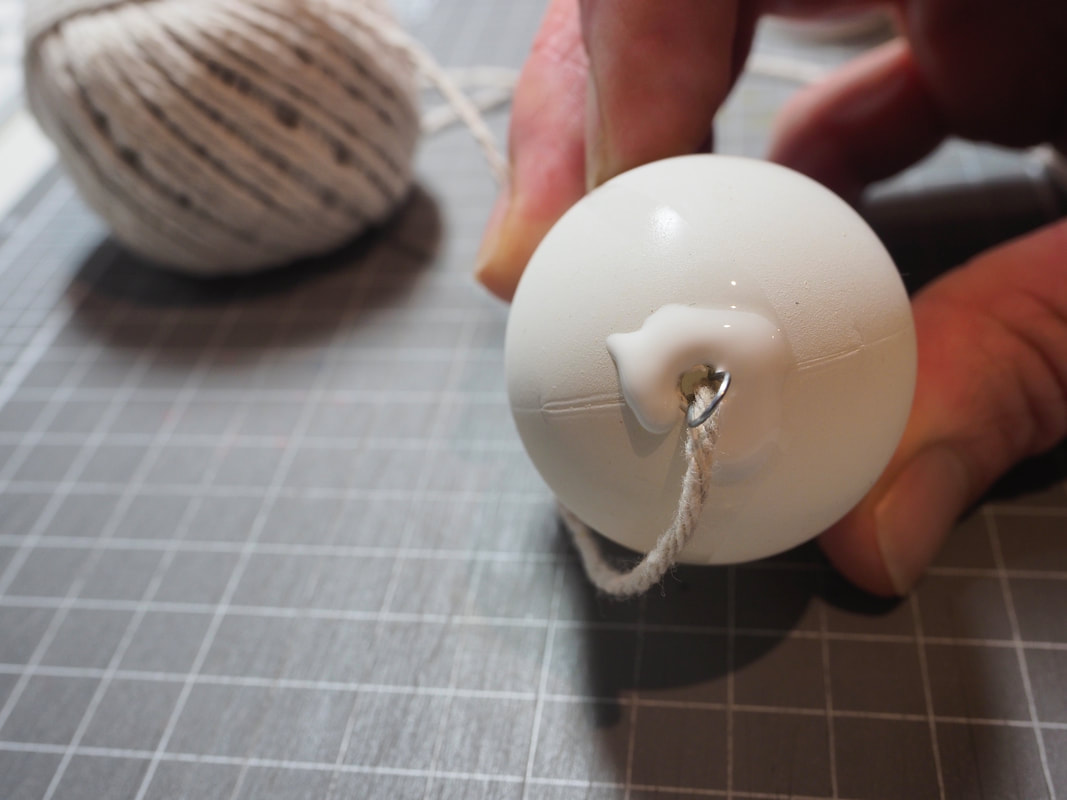
1. Start off by pressing the end of the string into the egg, or gluing it down to the end of the egg. My eggs had a hook which I could pull out and re-insert after pushing the string into the hole. If you have glued the end of your string into place, let it dry before continuing,
|
|
|
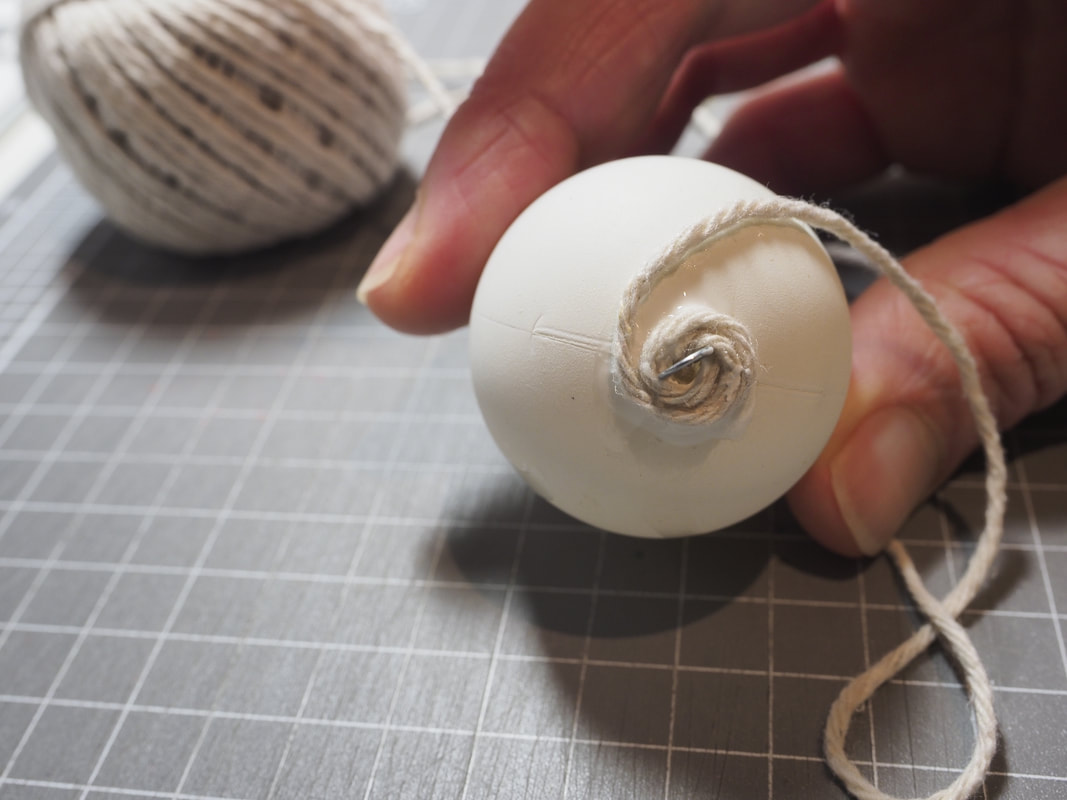
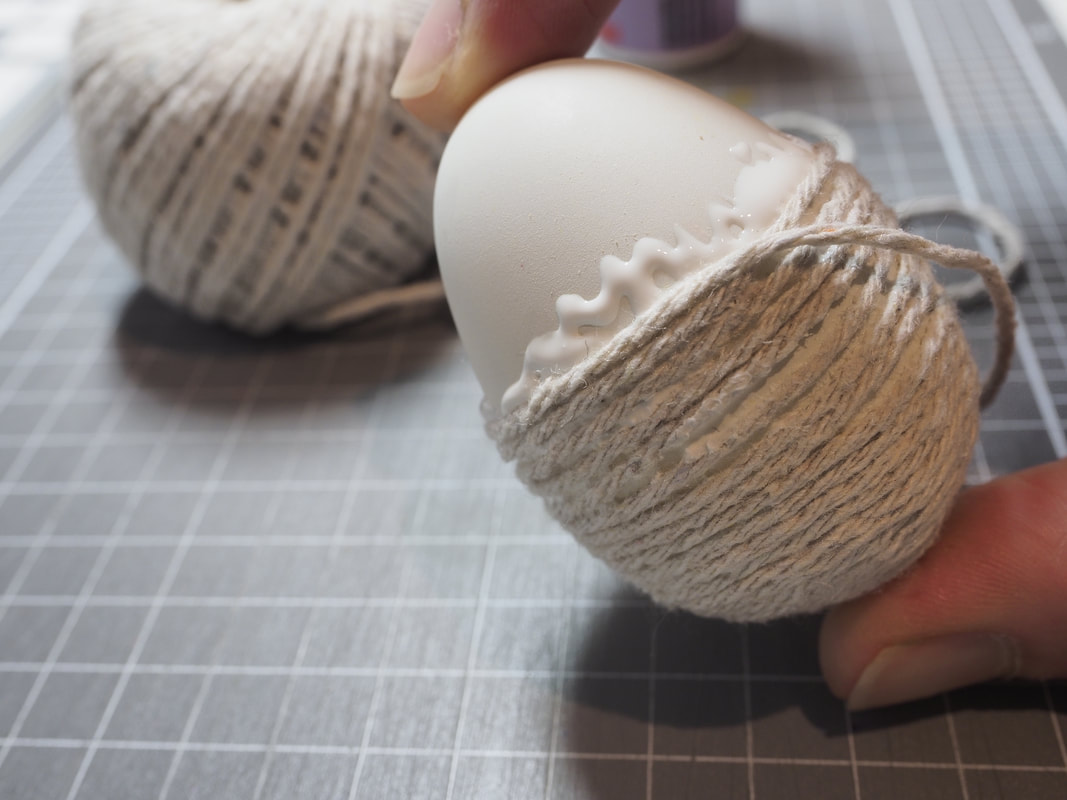
2. Add a generous amount of glue to the end of the egg around the string. Start winding the string around in circles.
|
|
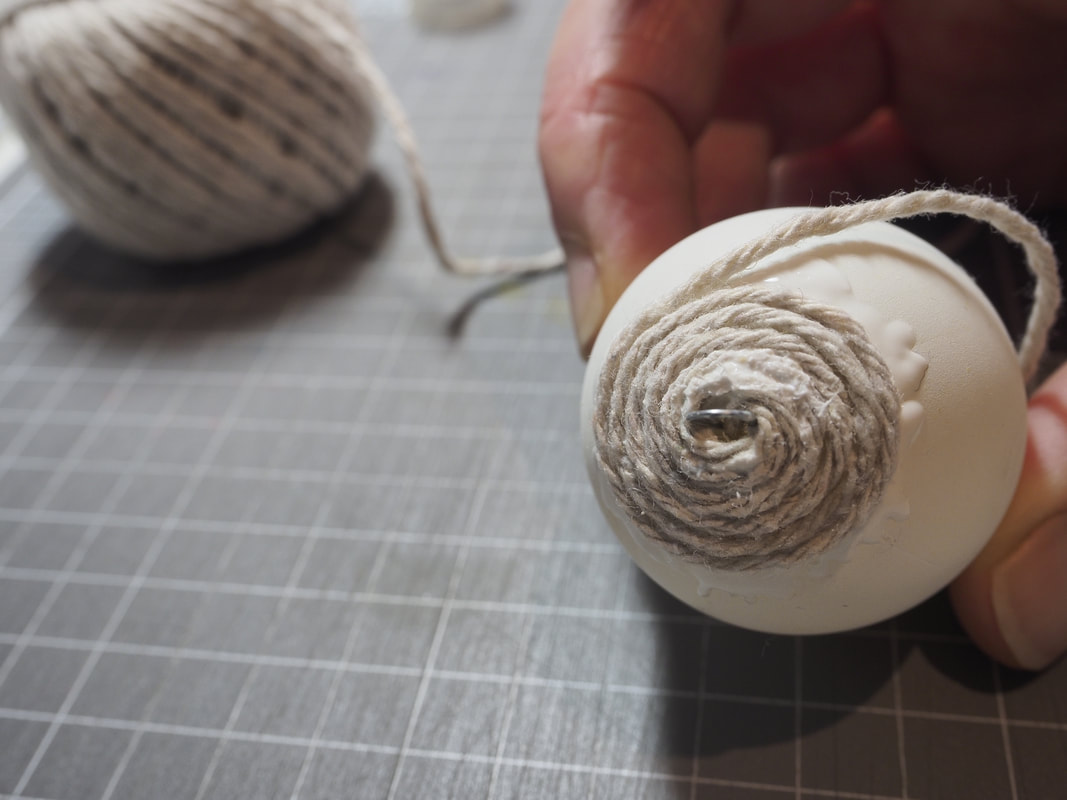
3. As soon as you reach the edge of the glued area, add more glue and then keep winding the string around. Repeat this process and continue to cover the egg
- Make sure that you push the string down firmly onto the egg to adhere it tightly as you work your way around the egg
- Push the string layers together as you go so that there are minimal gaps between the strings for a better looking result. The photos below are of the first egg I covered in string. Afterwards I felt that the gap between some of the strings was larger than I wanted and so with the next two eggs, I made sure that the string layers sat closer together.
|
|
|
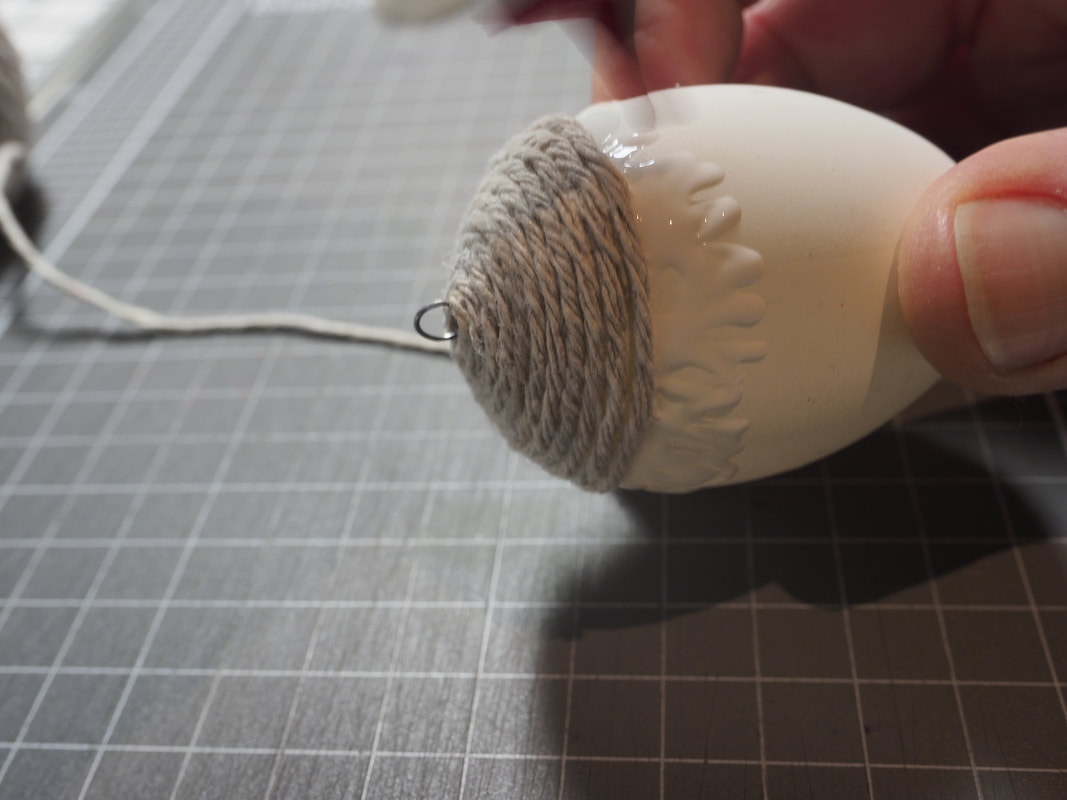
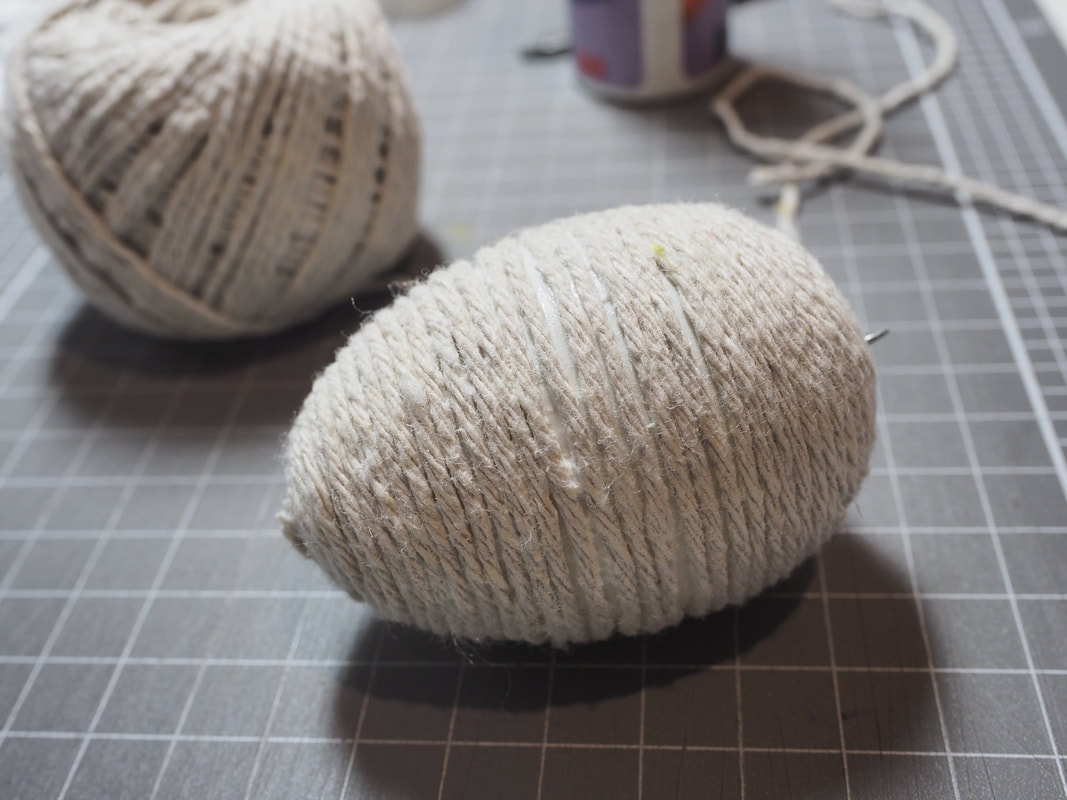
4. When you reach the end of the egg, fill the gap with glue, continue winding in the string until you have filled the gap and only have about 1cm of string required to fill the remaining gap. Cut the string to the required length and push down the end firmly to adhere it to the egg.
*It is better to cut the end piece too long and then need to cut again, than to cut it too short and not have enough to fill the gap.
*It is better to cut the end piece too long and then need to cut again, than to cut it too short and not have enough to fill the gap.

|

|
|